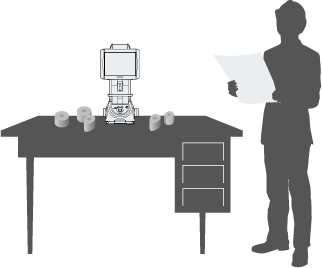
Prototype Evaluations

The main applications of measuring instruments at prototyping sites are the evaluation of the materials used for the prototypes and of the prototypes themselves. Generally speaking, there can be anywhere from tens to hundreds of prototypes, and not only must measurement be performed accurately and efficiently, but the data must also be shared with all members of the project.
Vernier calipers and micrometers are often used to perform dimensional measurements. However, due to the increased need for precise measurements in recent years, measuring instruments such as measuring microscopes, surface roughness meters, profile measurement systems, and coordinate measuring machines have become common. There is also a growing need to be able to measure complex shapes in addition to ensuring improved accuracy.
What to inspect during mass production and the number of inspections to perform are both determined during prototype evaluation. Therefore, using the same measuring instruments for inspections in mass production as those used in prototype evaluation makes it possible to reduce errors.
Examples of Measuring Instruments Used
- Vernier calipers
- Micrometers
- Measuring microscopes
- Roughness meters
- Optical CMMs
- Profile measurement systems
- Coordinate measuring machines
Key Points for Selecting a Measuring Instrument
- It is common for there to be numerous prototypes, so the measuring instrument should ideally make it possible for anyone to perform fast, simple, and accurate measurements.
- It is common to measure multiple types of parts with complicated shapes, so a measuring instrument that can be easily configured is useful.
- It is essential to select a measuring instrument that enables inspections during mass production and that can easily be installed on a production line.
Precautions for Measurements
- During prototype evaluation, many people may evaluate a large number of prototypes, so proper management of the measuring instruments is important.
- If the processing machines are located in a different place than where prototype evaluation is performed, errors may arise in dimensional measurements performed in these two locations due to environmental differences such as temperature variations. Measurement conditions should match the conditions used in mass production.


